
Mocha Cappuccino Cupcakes
Today I've created Mocha Cappuccino Cupcakes in honor of Death Cafe. The cupcakes are an easy chocolate cake with espresso powder to give them an extra rich cocoa and coffee vibe and the frosting is a decadent vanilla buttercream with fresh cold brew concentrate and a splash of coffee extract that makes it taste like Baileys!
But what is this cafe of death you ask? It is a place where people gather to eat cake, drink tea and discuss death! Their objective is 'to increase awareness of death with a view to helping people make the most of their (finite) lives'.
It is a group directed discussion of death-rather than a grief support or counselling session-with no agenda, objectives or themes.
Death Cafes are always offered:

- On a not for profit basis
- In an accessible, respectful and confidential space
- With no intention of leading people to any conclusion, product or course of action
- Alongside refreshing drinks and nourishing food – and cake!
Death Cafes have spread quickly across Europe, North America and Australasia. As of today, they have offered 12,424 Death Cafes in 78 countries since September 2011. If 10 people came to each one that would be 124,240 participants. They've established both that there are people who are keen to talk about death and that many are passionate enough to organise their own Death Cafe.
Want to host your own Death Cafe? Click here to learn more!
Cupcake Ingredients
1 cup soy milk
1 teaspoon apple cider vinegar
¾ cup granulated sugar
1 teaspoon vanilla extract
½ teaspoon almond extract
1 cup all purpose flour
1/3 dutch cocoa powder, or regular
2 tablespoons espresso powder
¾ teaspoon baking soda
½ teaspoon baking powder
¼ teaspoon salt
Frosting Ingredients
½ cup vegan non hydrogenated shortening
½ vegan butter ( I use Earth Balance)
3½ cups powdered sugar
1½ teaspoons vanilla extract
¼ cup cold brew or strong coffee
1/8 coffee extract (optional)
Cupcake Directions
Preheat oven to 350° F and line a cupcake tin with cupcake liners. I would highly recommend ordering a bunch of these and stashing them away to have on hand when the spirit moves you. I used to not use them because I was lazy and it really just makes clean up and sharing them way easier.
Whisk your soy and apple cider vinegar together and let it curdle for at least five minutes. You want it to curdle don’t worry, we are making a vegan buttermilk.
Cream your sugar, oil, and extracts together and then add to your soy milk mixture and whisk until frothy.
In a separate bowl sift all your dry ingredients together. Do not skip this! Your cocoa powder is clumpy and it needs sifting to loosen up and incorporate properly. Also, and I know this from experience, if you don’t get things sifted well you could end up with a clump of baking powder or soda in one area which one, tastes bad when you unexpectedly bite into it, and two, prevents your cakes from rising properly.
In two batches, add your dry ingredients to the wet ingredients. I repeat, add the dry to the wet. Trust me on this. If you do it the other way you are going to be scraping the sides of your bowl trying to get everything to mix together nicely (again speaking from experience here).
Pour the batter into the liners filling each one about 3/4 full and bake for 18 to 20 minutes or until a toothpick comes out clean from the center when inserted.
Transfer to a cooling rack and allow to cool completely.
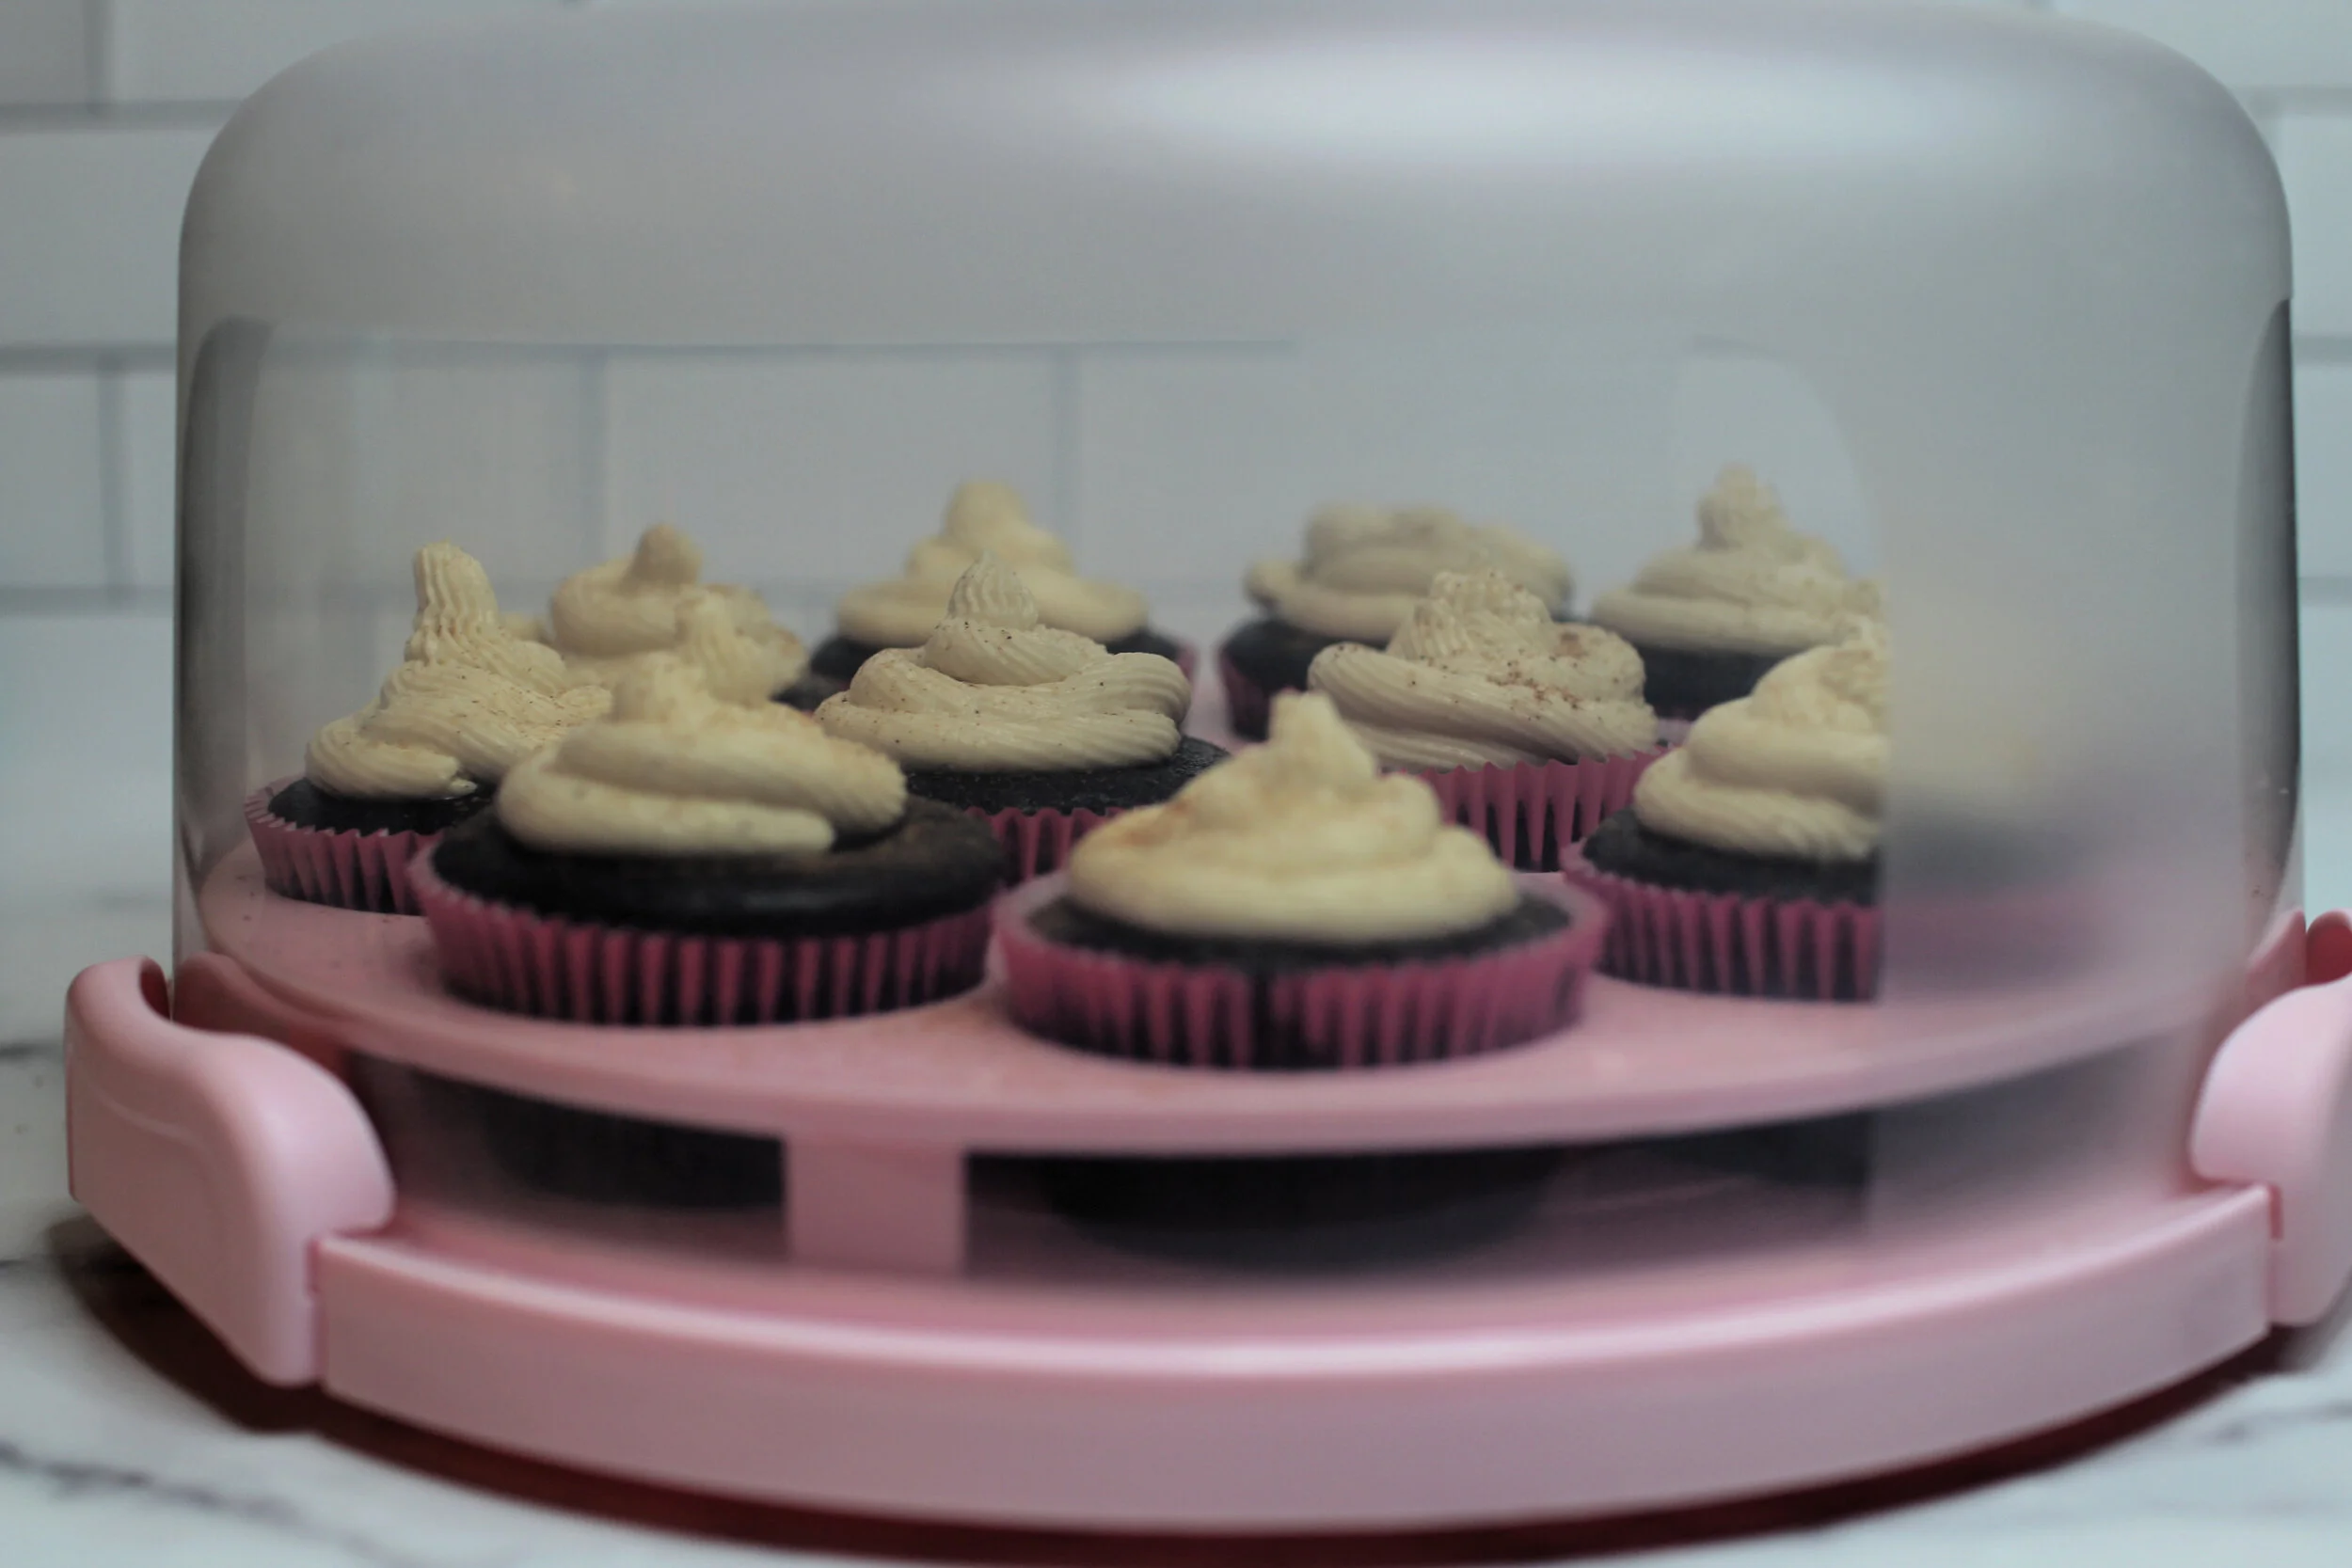
If taking these babies to go I highly recommend grabbing a cake holder with a cupcake insert like pictured!
Allow cupcakes to cool completely before you frost them or your frosting will melt right off the top (sigh. Again I speak from experience)
Ok so truth be told I am terrible at frosting cupcakes, these may be the best I have done yet so if you aren’t very good either, seriously it’s ok, it just takes practice. When you are ready to pipe your frosting you are going to want to have chilled this and then allowed it to “warm up” for about 8-10 minutes. Here is why. After you whip the frosting up it’s going to be pretty warm, this is a good time to scoop it into a piping bag. I wish I had words of wisdom about how to do this without making a mess, but one thing to keep in mind is that you want to “cuff” the top of the bag the same way you’d cuff some a pair of jeans. This allows you to get the frosting in with more ease. You also want to keep the tip of the bag pointed up if it’s an open piping bag with a tip attachment like the one I used. I wanted my frosting to chill in the fridge for a bit so that I could let it then warm back up to the right piping texture because if you want to use a decorative tip the frosting will collapse if its warm. Also now is a great time to tell you that if you feel this is too much, don’t overthink it! Just slap some frosting on with a spoon or knife, I mean it’s allll going to look the same in the end.
Hot tip! I frosted my cupcakes in their to-go container to avoid moving or bumping into them and then just popped the whole container into the fridge to let the frosting set again.
If you feel like being extra you can add a dash of nutmeg and cinnamon like I did, it’s a nice backbone to the creamy cool frosting.

Frosting Directions
Beat butter and shortening until light and fluffy.
Add sifted powdered sugar and beat for 3 more minutes.
Add extracts and coffee and beat for 5-7 more minutes.